Delicious Beef Back Ribs Recipe – Tender & Flavorful
Table of Contents
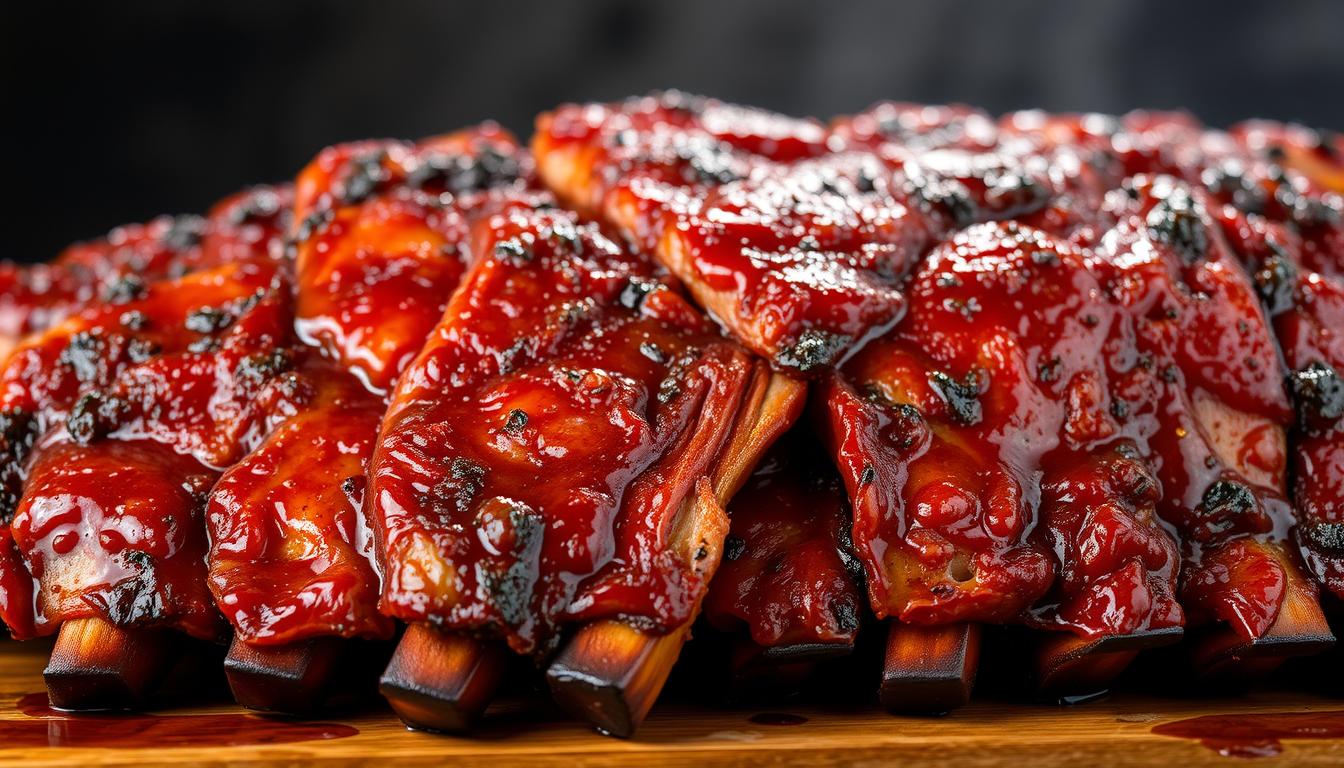
Ever wondered how to achieve that perfect fall-off-the-bone tenderness in your meat? The secret lies in a homemade dry rub and a foolproof oven-baking method. This recipe has been tested multiple times, earning a stellar 4.98 rating from 69 votes, making it a crowd-pleaser for any dinner party.
Whether you’re using a full rack or sliced portions, this method ensures consistent, delicious results every time. The combination of a flavorful dry rub and a tangy BBQ sauce creates a mouthwatering experience that’s hard to resist. Detailed instructions and precise ingredient measurements guarantee success, even for beginners.
Time-sensitive steps are carefully outlined to maximize flavor and tenderness. From seasoning to glazing, this guide covers everything you need to know. Get ready to impress your guests with a dish that’s both tender and packed with flavor.
Key Takeaways : Beef Back Ribs Recipe
- Fall-off-the-bone tenderness achieved with a homemade dry rub.
- Foolproof oven-baking method ensures consistent results.
- High user ratings make this a crowd-pleaser for dinner parties.
- Detailed instructions and precise measurements for perfect results.
- Time-sensitive steps maximize flavor and tenderness.
Introduction to Our Delicious Recipe
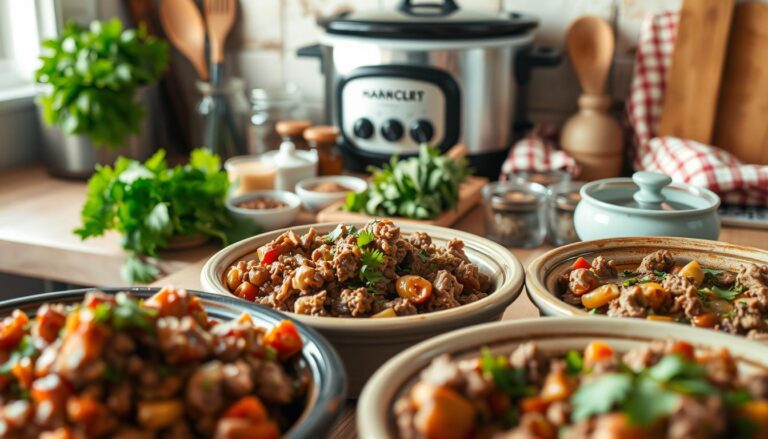
Ready to master a cooking technique that delivers restaurant-quality results? This recipe is designed to make your meal prep stress-free while ensuring incredible flavor. With just 15 minutes of prep time, you’ll be on your way to creating a dish that’s tender, juicy, and packed with smoky goodness.
The secret lies in the low and slow cooking method. While the oven does most of the work over 4+ hours, the result is worth every minute. This technique transforms the meat into a melt-in-your-mouth masterpiece, perfect for any BBQ lover.
Following precise timing is key. Whether it’s the initial seasoning or the final glazing, each step is designed to maximize tenderness and flavor. This recipe eliminates guesswork, making it easy for even beginners to achieve impressive results.
Perfect for gatherings or a cozy family dinner, this dish is sure to become a favorite. Stay tuned as we dive into the essential ingredients and dry rub techniques in the next section.
Ingredient Essentials and Dry Rub Tips
Unlock the full potential of your cooking by focusing on precise ingredient selection and preparation. The right combination of ingredients and techniques can elevate your dish from good to unforgettable.
Choosing the Right Beef Back Ribs
Selecting the right cut is crucial for achieving juicy, flavorful results. Whether you prefer a full rack or individual slices, ensure the meat is fresh and well-trimmed. A pro tip: ask your butcher to remove the silver skin. This step improves flavor absorption and ensures even cooking.
Look for cuts with a good balance of meat and fat. This combination guarantees tenderness and richness in every bite. A full rack is ideal for gatherings, while individual slices work well for smaller portions.
Mixing the Perfect Dry Rub
A high-quality dry rub is the secret to enhancing the natural flavors of your meat. Here’s a simple yet effective blend:
- 2 teaspoons smoked paprika
- 1 teaspoon garlic powder
- 1 teaspoon onion powder
- 1 teaspoon salt
- ½ teaspoon black pepper
Combine these ingredients in a bowl and mix thoroughly. The precise measurements ensure balanced seasoning, so every bite is packed with flavor.
Apply the rub generously to your meat, making sure to coat every inch. Let it sit for at least 30 minutes to allow the flavors to penetrate. This step is key to unlocking the full potential of your dish.
Proper ingredient selection and preparation are the foundation of a great meal. With these tips, you’re well on your way to creating a dish that’s both tender and bursting with flavor.
Step-by-Step Cooking Process
Transform your meal prep with a step-by-step guide to perfection. This method ensures tender, juicy results every time. Follow these detailed instructions to achieve a dish that’s both flavorful and satisfying.
Prepping and Seasoning Your Ribs
Start by preheating your oven to 275°F. While it heats, prepare your meat by removing any excess fat. This step ensures even cooking and better flavor absorption.
Next, apply the dry rub generously. Make sure to coat every inch for maximum flavor. Let it sit for at least 30 minutes to allow the seasoning to penetrate.
Wrap the meat tightly in foil. This locks in moisture and helps the fat render properly. It’s a crucial step for achieving that melt-in-your-mouth texture.
Oven-Baking and Broiling Techniques
Place the wrapped meat on a baking sheet and bake for 3-4 hours. The low and slow method breaks down the internal fat, enhancing tenderness.
After baking, carefully unwrap the foil. Be cautious to avoid releasing the juices. Transfer the meat to a broiler-safe pan.
Broil for 5-7 minutes to crisp up the exterior. Keep a close eye to prevent overcooking. This step adds a perfect crust without drying out the meat.
| Step | Time | Temperature |
|---|---|---|
| Preheat Oven | 10 minutes | 275°F |
| Bake | 3-4 hours | 275°F |
| Broil | 5-7 minutes | High |
“The key to perfect tenderness is patience. Low and slow cooking transforms even the toughest cuts into a masterpiece.”
By following these steps, you’ll create a dish that’s both tender and packed with flavor. Enjoy the process and savor the results!
Mastering the beef back ribs recipe
Discover the secrets to achieving that melt-in-your-mouth texture every time. Perfecting this dish requires attention to detail, especially when it comes to tenderness and moisture retention. By following expert techniques, you’ll create a meal that’s both flavorful and unforgettable.
Achieving Fall-Off-The-Bone Tenderness
Slow cooking is the key to unlocking that perfect texture. When you cook at a low temperature for several hours, the collagen in the meat breaks down, resulting in a tender, fall-off-the-bone experience. Avoid the temptation to check too early, as this can release essential steam and disrupt the process.
Proper temperature management is crucial. Cooking at 275°F for 3-4 hours ensures the meat becomes tender without drying out. This method allows the fat to render slowly, enhancing both flavor and texture.
Moisture Retention and Low-and-Slow Cooking Tips
To maintain moisture, wrap the meat tightly in foil before baking. This traps the juices, ensuring the meat stays succulent throughout the cooking process. Letting the meat cook undisturbed is essential for achieving the best results.
Broiling for 5-7 minutes after baking adds a crispy exterior without sacrificing tenderness. This step is optional but highly recommended for an extra layer of flavor and texture.
“Patience is the secret ingredient. Low and slow cooking transforms even the toughest cuts into a masterpiece.”
By mastering these techniques, you’ll elevate your cooking to a professional level. The careful treatment of the bone area enhances the flavor and texture of the back rib, making every bite a delight. Avoid common pitfalls like checking too early, and you’ll achieve exceptional results every time.
Sauce, Glaze, and Serving Suggestions
Elevate your meal with the perfect sauce and glaze combination. The right choice can enhance the natural flavors of your dish while adding a touch of creativity. Whether you prefer a classic BBQ sauce or a unique glaze, these tips will help you create a memorable dining experience.
Selecting Your Favorite BBQ Sauce or Glaze
Choosing the right sauce is key to complementing your dish. A classic BBQ sauce made with ketchup, brown sugar, and vinegar is always a crowd-pleaser. For a homemade version, combine 1 cup ketchup, 1/4 cup brown sugar, and 2 tablespoons vinegar. Adjust the sweetness or tanginess to suit your taste.
Glaze Variations for Extra Flavor
For a unique twist, try a sweet-tangy maple bourbon glaze. Mix 1/2 cup maple syrup, 2 tablespoons bourbon, and 1 tablespoon brown sugar. Simmer until thickened, then brush generously over your dish. This glaze adds depth and richness, making every bite unforgettable.
Serving and Pairing with Delicious Sides
Pair your dish with complementary sides for a complete meal. Creamy coleslaw, roasted vegetables, or cornbread are excellent choices. Balance the richness of the sauce with lighter options like a fresh green salad. These pairings ensure a well-rounded and satisfying serving experience.
Properly applying sauce and glaze not only enhances flavor but also improves presentation. A final brush of glaze before serving adds a glossy finish that’s visually appealing. With these tips, you can transform a home-cooked meal into a restaurant-style feast.
Conclusion
Wrapping up, this guide ensures your meal is both flavorful and tender. From selecting the right ingredients to mastering the cooking process, each step is designed to deliver optimal results. Follow the instructions closely to achieve that perfect texture and taste.
For leftovers, store them in an airtight container for up to 4 days. Reheat gently to maintain moisture and flavor. This dish also offers great nutritional value, making it a balanced choice for health-conscious cooks.
Feel free to experiment with glaze variations while keeping the core method intact. Your efforts will be rewarded with a dish that’s perfect for any occasion. Share your experience or feedback with fellow BBQ enthusiasts!